What You’ll Learn
By the end of this guide, you’ll know how to:- Log in to the Spotflow Dashboard
- Create a payment link
- Set pricing and details
- Share the link with customers
- Test payments
- Track payments in real time
Step 1: Log In to the Spotflow Dashboard
Log in to your Spotflow account or Sign Up if you don’t have one.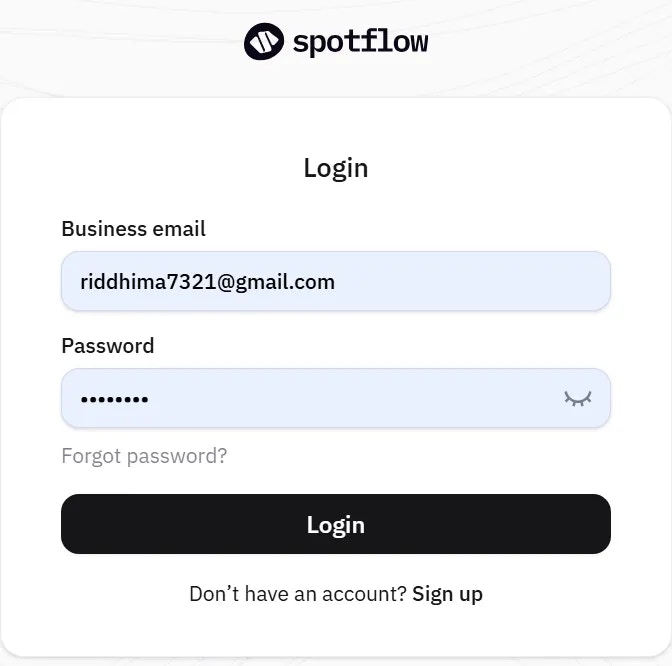
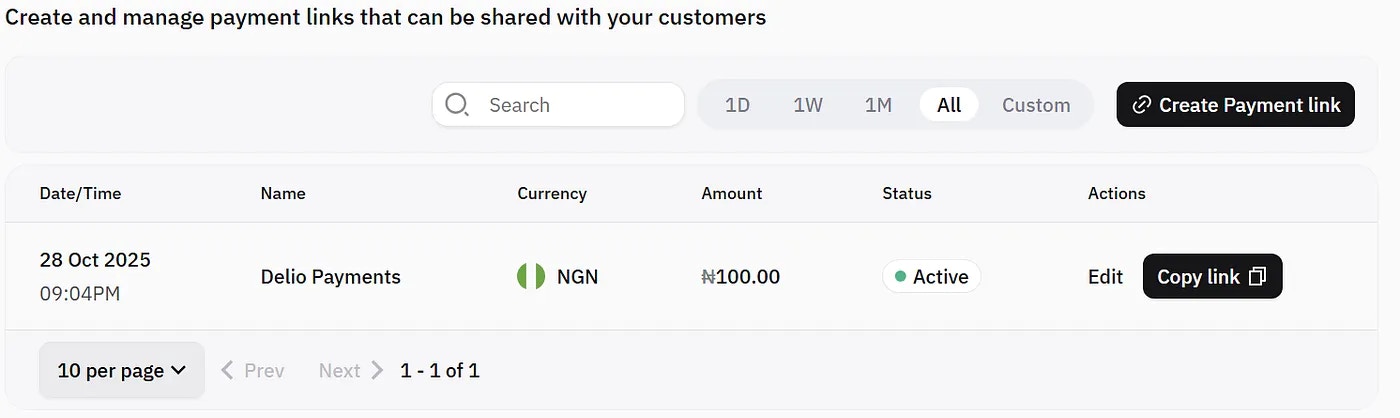
Step 2: Open the Payment Links Page
From the left menu, click Payment Links. This page lets you generate shareable URLs for quick customer payments.Step 3: Create a New Payment Link
Click Create Payment Link and fill in:- Title (product/service name)
- Description (short summary)
- Amount
- Currency
Step 4: Configure Extra Settings (Optional)
You can:- Allow customers enter any amount.
- Collect customer’s phone number.
- Redirect user after payment.
Step 5: Generate the Link
Once everything looks as you desire, click Create. Spotflow instantly generates a secure checkout URL you can share through:- Instagram DMs
- Facebook Messenger
- Telegram
Step 6: Test Your Payment Link
Spotflow includes a Test Mode, allowing you to simulate real payments without charging anything. Create a payment link in test mode, open it and use the provided test card details.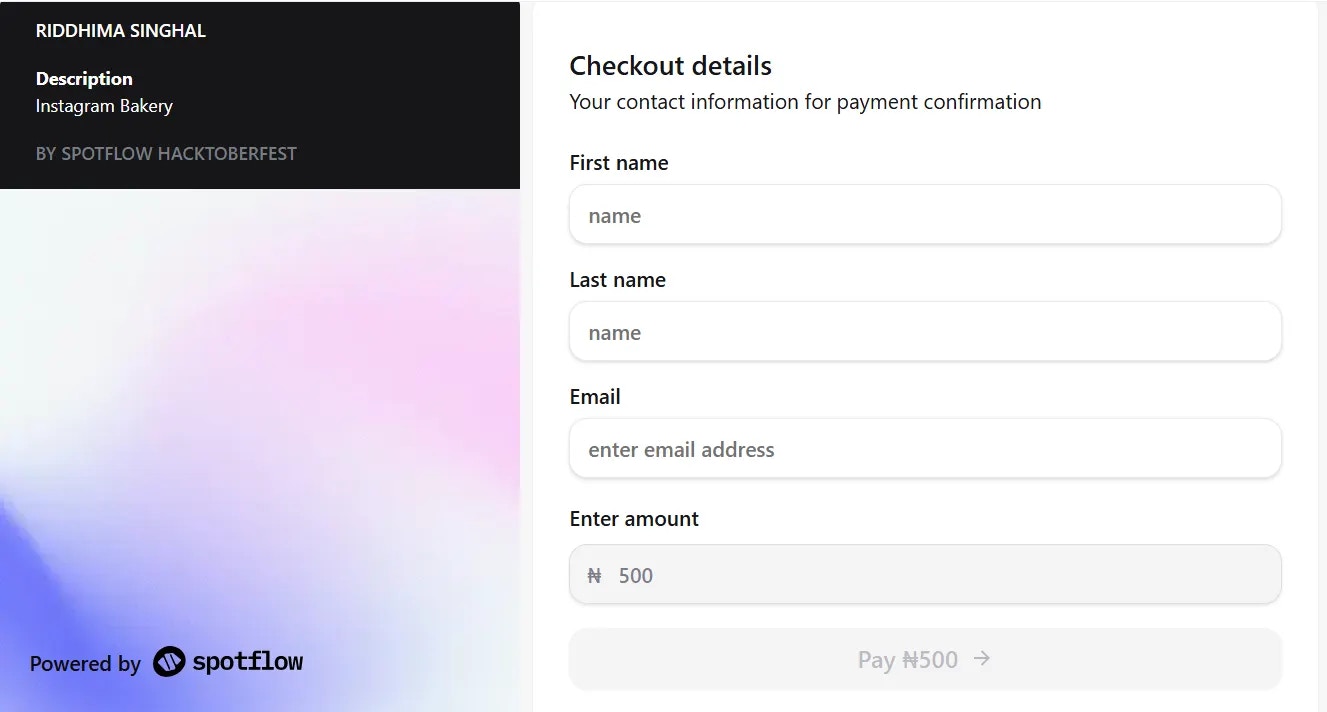
Step 7: Track Payments in Real Time
According to the different currencies you created the payment link, head back to the Collections page on your dashboard to see:- Payment status
- Timestamps
- Payment channels/methods
- Customer details
- Go to Settings > Webhooks
- Add a webhook URL for payment notifications
- Detailed Guide
Who Is This For?
Payment links are ideal for:- Instagram sellers
- Freelancers
- Consulting sessions
- Donations
- Digital products
- Event tickets
- Course enrollments
Why Spotflow?
Compared to traditional gateways:- Setup takes minutes
- No technical experience needed
- Clean, simple dashboard
- Mobile-friendly checkout
- Flexible configuration options
Contributed by Riddhima Singhal during Hacktoberfest ‘25 with Spotflow